> For the complete documentation index, see [llms.txt](https://docs.nexthink.com/platform/llms.txt). Markdown versions of documentation pages are available by appending `.md` to page URLs; this page is available as [Markdown](https://docs.nexthink.com/platform/ja/configuring_nexthink/bringing-data-into-your-nexthink-instance/integrating-nexthink-with-third-party-tools/inbound-connectors/connector-for-microsoft-azure-virtual-desktop.md).
# Microsoft Azure Virtual Desktop コネクタ
{% hint style="warning" %}
このドキュメントは外部ソースを参照しています。 Nexthink はサードパーティのドキュメントの正確性や、このページに記載されている情報に矛盾を生じさせる可能性のある外部の更新または変更を制御することはできません。エラーや矛盾を[Nexthink サポート](https://support.nexthink.com/)に報告してください。
{% endhint %}
Microsoft Azure バーチャル デスクトップ (AVD) 用コネクタは、ホストプールやデスクトップ仮想化のタイプなどの仮想デスクトップに関するデバイスの組織情報をインポートすることができます。この機能は自動的に実行され、Azureポータルの設定に従ってAzureアプリと通信します。
## 前提条件
1. [新しいアプリケーションを登録する](https://docs.microsoft.com/en-us/graph/auth-register-app-v2) Azureポータルで。
* 登録プロセス中に、**シングル テナント** オプションを選択してください。
* リダイレクトURI部分では、ドロップダウンリストを使用して、**Web** を選択します。
2. [デスクトップ仮想化ホストプールリーダー](https://learn.microsoft.com/en-us/azure/role-based-access-control/built-in-roles#desktop-virtualization-host-pool-reader) の役割をAzureアプリのサービス プリンシパルに割り当てます。
3. ディスクイメージ情報を取得するには、 `Microsoft.Compute/virtualMachines/read` の権限を持つ役割をサービスプリンシパルに割り当てます。[バーチャルマシンユーザー](https://learn.microsoft.com/en-us/azure/role-based-access-control/built-in-roles#virtual-machine-user-login) の組み込み役割を割り当てるか、この目的のためにカスタム役割を作成してください。
4. 最新バージョンのNexthinkデータコレクタを仮想デスクトップにインストールします。
{% hint style="info" %}
詳しくは、[Windows への Collector のインストール](broken://pages/2Fs3Q7uJbmCtb2ukmpmd) を参照してください。
{% endhint %}
## デバイス フィールド
以下のデバイス仮想化フィールドがインポートされます。
| Nexthink フィールド | 説明 |
| --------------- | ---------------------------------------------------------------------------- |
| 仮想化デスクトップ プール名 | 関連するVMのハードウェア特性 |
| 仮想化デスクトッププールタイプ |
デスクトッププールのタイプ。可能な値は次の通りです:
共有
個人
プール
|
| 仮想化ハイパーバイザー名 | 使用されているハードウェア仮想化システム。この場合、ハイパーバイザー名は常に\_Azure\_ です。 |
| 仮想化インスタンスサイズ | 仮想マシンに割り当てられるCPU、メモリ、ストレージを決定する事前に定義された構成。 |
| 仮想化リージョン | 1つ以上のMicrosoft Azureデータセンターがある地理的な地域。 |
| 環境名 | 仮想デバイスを向上させるコネクタ インスタンスの名前。 |
| デスクトップブローカー | 使用されているデスクトップ仮想化ブローカー製品名。この場合、`azure_virtual_desktop` |
詳細については、[NQLデータモデル](/platform/ja/understanding-key-data-platform-concepts/nql-data-model.md) ドキュメントを参照してください。
## Nexthink web インターフェース の設定
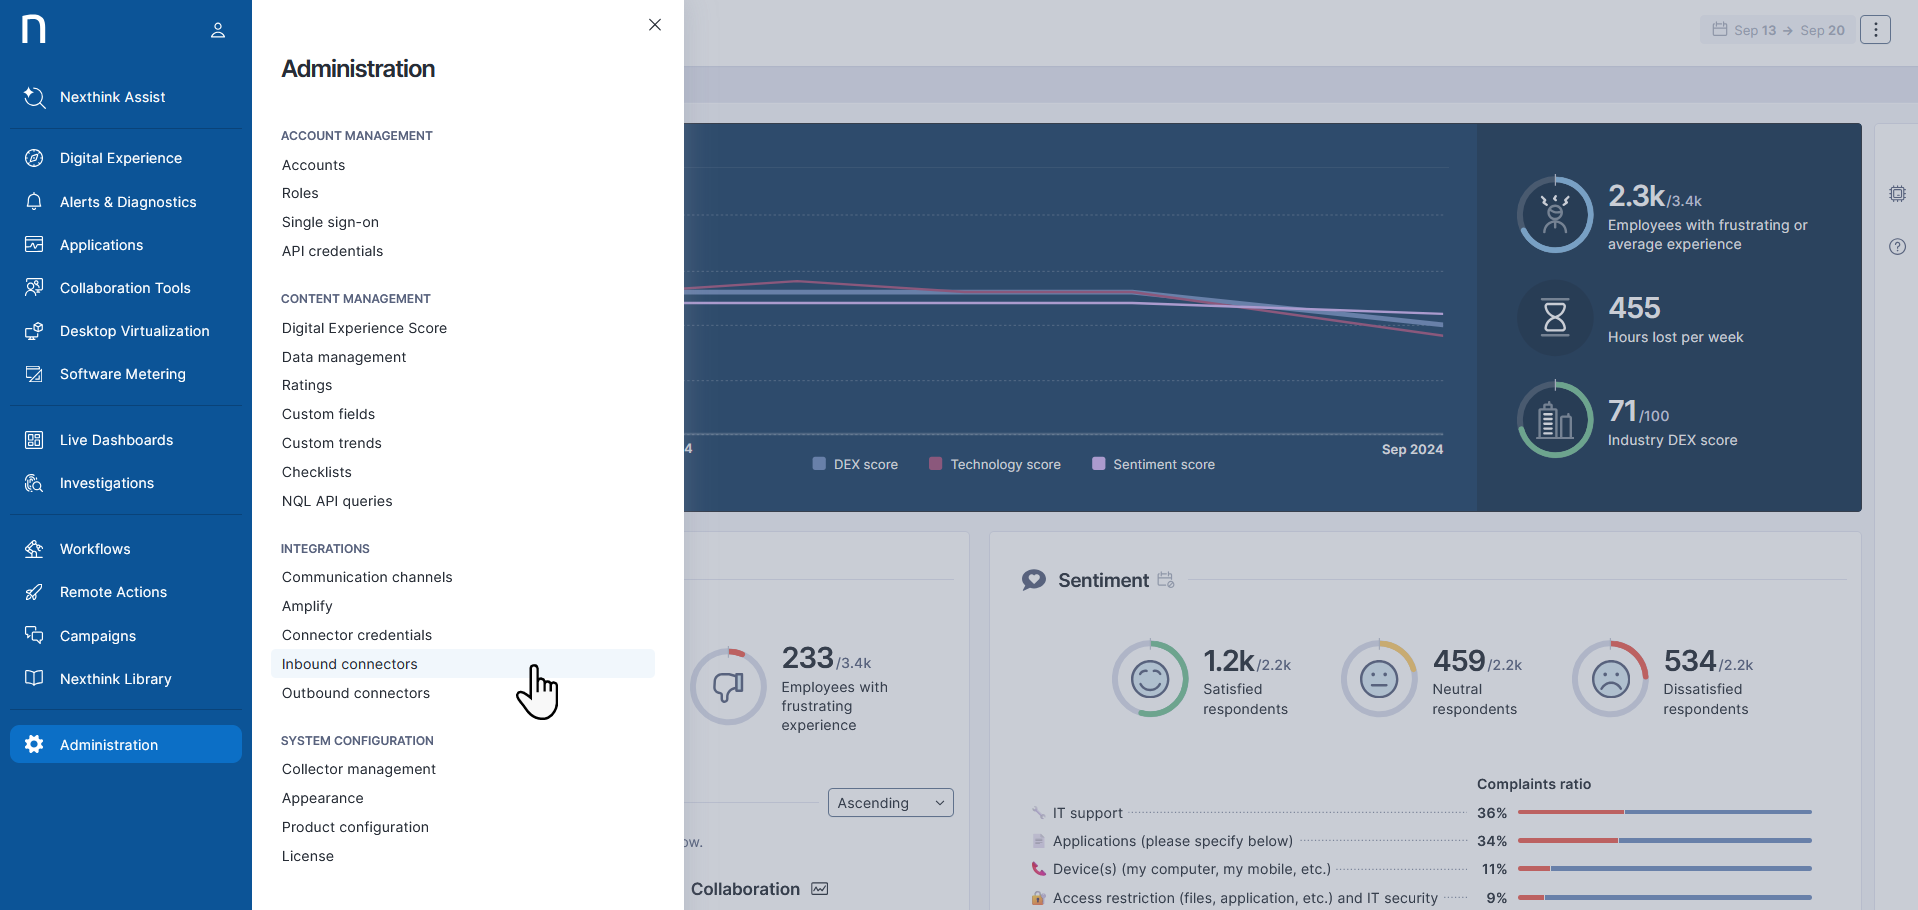
1. **アドミニストレーション** > **インバウンド コネクタ** に進みます。
2. ページの右上隅にある **新しいコネクタ** ボタンをクリックします。
3. コネクタのリストから **Azure バーチャル デスクトップ** を選択します。
### コネクタの有効化
このページで次のAzure AD資格情報を入力して、NexthinkインスタンスとAzure Active Directory (Azure AD) 間の接続を有効にします:
* **名前**: コネクタの意味のある名前を入力します。
* **テナントID:** Azureポータルの概要セクションにあるディレクトリ (テナント) ID。
* **サブスクリプションID:** Azureポータルから以前に保存したサブスクリプションID。
* **クライアントID:** Azureポータルの概要セクションにあるアプリケーション (テナント) ID。
* **クライアント秘密:** **証明書および秘密** オプションを使用してAzureポータルで生成できるクライアント秘密を入力します。
* **新しいクライアント秘密** をクリックします。
* **説明** および **期限** の値を入力します。
* **追加** をクリックし、**値** 列から内容をコピーします。
詳しくは[マイクロソフトドキュメント](https://docs.microsoft.com/en-gb/azure/active-directory/develop/howto-create-service-principal-portal#option-2-create-a-new-application-secret)を参照してください。
## FAQ Azure バーチャル デスクトップ用のコネクタは何のために使用されますか?
NexthinkデバイスデータをAzureバーチャルデスクトップからホストプールやデスクトップ仮想化のタイプといった情報をインポートすることにより充実させるためです。これはデバイスの視覚化を向上させるためです。
Azure バーチャル デスクトップ用コネクタのトラブルシューティング方法は?
現在、Azure バーチャル デスクトップ用コネクタの問題をトラブルシュートする唯一の方法は、[Nexthink サポート](https://support.nexthink.com/) に連絡することです。
---
# Agent Instructions
This documentation is published with GitBook. GitBook is the documentation platform designed so that both humans and AI agents can read, navigate, and reason over technical content effectively. Learn more at gitbook.com.
## Querying This Documentation
If you need additional information that is not directly available in this page, you can query the documentation by asking a question.
Perform an HTTP GET request on the following URL with the `ask` and `goal` query parameters:
```
GET https://docs.nexthink.com/platform/ja/configuring_nexthink/bringing-data-into-your-nexthink-instance/integrating-nexthink-with-third-party-tools/inbound-connectors/connector-for-microsoft-azure-virtual-desktop.md?ask=&goal=
```
`ask` is the immediate question: it should be specific, self-contained, and written in natural language.
`goal` is what the user is ultimately trying to achieve, the reason they need the answer. Sharing it helps GitBook give you a better, more relevant answer. A goal is most helpful when it describes the outcome the user wants rather than restating the question. For example, with `ask=how do I create an API token`, a goal like `automate deployments from our CI pipeline` lets GitBook tailor the answer to that use case.
The response will contain a direct answer to the question and relevant excerpts and sources from the documentation.
Use this mechanism when the answer is not explicitly present in the current page, you need clarification or additional context, or you want to retrieve related documentation sections.
.png?alt=media)