> For the complete documentation index, see [llms.txt](https://docs.nexthink.com/platform/llms.txt). Markdown versions of documentation pages are available by appending `.md` to page URLs; this page is available as [Markdown](https://docs.nexthink.com/platform/configuring_nexthink/bringing-data-into-your-nexthink-instance/integrating-nexthink-with-third-party-tools/inbound-connectors/jamf-ios-mobile-devices-connector.md).
# Jamf: iOS Mobile devices connector
The Jamf Connector for iOS Mobile Devices allows you to collect additional compliance data from all iOS devices, as well as data from devices on which you cannot install Nexthink Mobile, such as certain bring your own (BYO) devices.
This connector is specifically designed for iOS mobile operating systems. The system uses the operating system's device identifier to match the device imported from Jamf with an existing device.
* If a match is found, the existing device is enriched with data from Jamf.
* If no match is found, the system imports the device as a new entry.
## Device fields
The connector for Jamf: iOS Mobile devices imports the following device field.
| Nexthink Field | Description |
| ---------------- | -------------------------------------------------------------------------------------------------------------------------------------- |
| `mobile_devices` | Contains information about mobile devices, including hardware specifications, operating system details, and Nexthink application data. |
Additionally, the connector populates the following fields in the `mobile_devices.governance` grouping, even for devices that have Nexthink Mobile installed:
| | |
| ------------------ | ---------------------------------------------------------------------------------------------------------------------------------------------------------------------------------------------------------------------------------------------------------------------------------------------------------------------------------------------------------------------------------------------- |
| `compliance_state` |
The current compliance status of the device compared to the organization's compliance policies, as reported by the UEM.
For Jamf integrations, this status is determined based on the Smart Group configured in the connector under Non-compliant Device Smart Groups. The selected Smart Group must map to a Jamf Smart Group that contains devices identified as non-compliant.
|
| `is_encrypted` | True if device storage is encrypted, as reported by the UEM. |
| `last_synced` | The last time the UEM successfully synced data with the device. |
| `name` | The device name as assigned in the UEM system. |
| `ownership_type` | Indicates the ownership category defined by the UEM. |
| `is_supervised` | Indicates if the device is supervised by the UEM, allowing deeper management capabilities. |
## Prerequisite
The connector requires the following permission to be granted in Jamf:
* `DeviceManagementManagedDevices.Read.All`
## Configuring the Connector
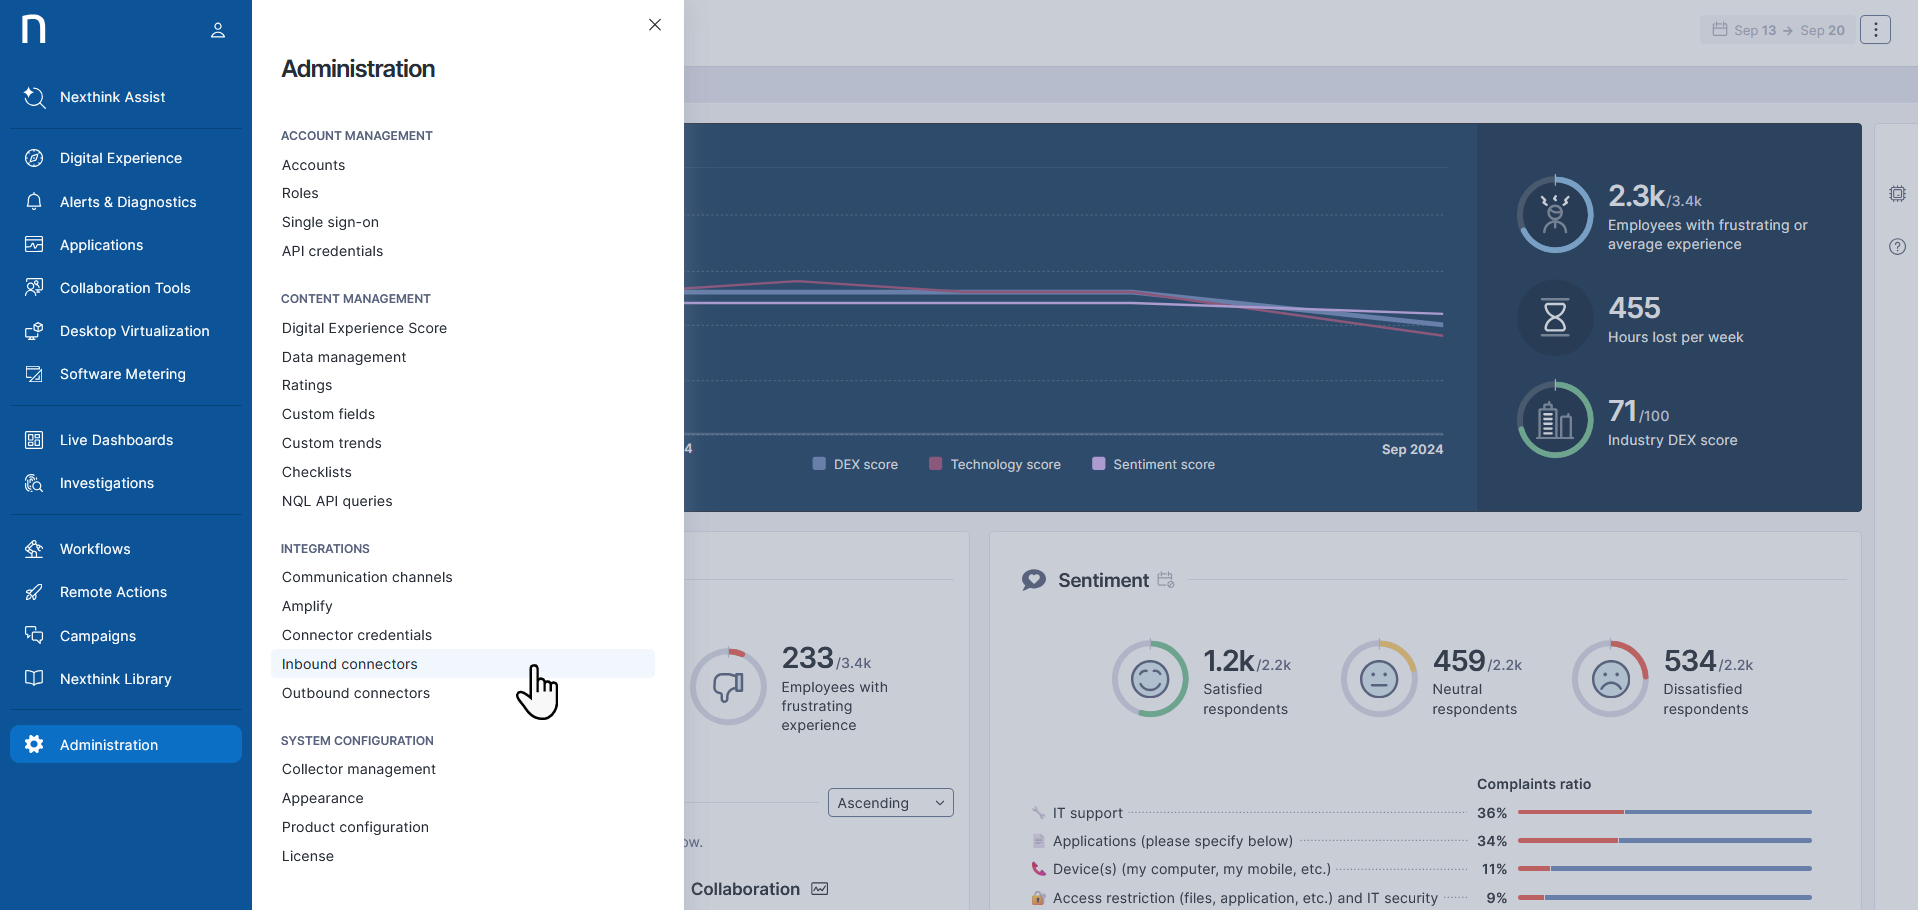
Navigate to the **Administration** module and select **Connector credentials** from the **Integrations** section. Create new Connector Credentials for Jamf. See the [Third-party credentials](/platform/configuring_nexthink/bringing-data-into-your-nexthink-instance/integrating-nexthink-with-third-party-tools/outbound-connectors/connector-credentials.md) documentation for more information.
Fill the following input fields accordingly; change the `` to your actual Jamf Cloud tenant address:
## Configuring the connector for Jamf: iOS Mobile devices
{% stepper %}
{% step %}
Go to **Administration** > **Inbound connectors**.
{% endstep %}
{% step %}
Select **New connector** button in the top-right corner of the page.
{% endstep %}
{% step %}
Select **Jamf: iOS Mobile devices** from the list of connectors.
{% endstep %}
{% step %}
On the **General** tab:
* Provide a **name** and **description** for your Jamf connector. The **NQL ID** is generated automatically.
* In the **Schedule** section, set how often the connector will fetch data from Jamf.
* In the **Connection** section, select the Jamf credentials you have configured in a previous step.
{% endstep %}
{% step %}
On the **Parameters** tab:
* Select the **Start date** to determine which devices to include. Only devices synced on or after this date will be imported.
* Optionally, select the **Non-compliant device smart groups**. Define one or more groups of non-compliant devices in Jamf, then enter the group name or names in this text box. If you leave this input field empty, the system will not report compliancy information.
* Specify **Device ownership type** to include company-owned, personally-owned or both device types.
{% endstep %}
{% step %}
In Jamf Cloud, go to **Settings > System > API roles and clients**, and grant the following privileges to the newly created Jamf mobile connector:
* Read Mobile Devices
* Read Mobile Device Inventory Collection
{% endstep %}
{% endstepper %}
Once you save the connector settings, the system immediately synchronizes with Jamf and continues to synchronize based on the schedule defined in the **General** tab.
## Test results panel
{% hint style="info" %}
The **Test results** panel is available only for supported connectors. Connector availability also depends on your license.
{% endhint %}
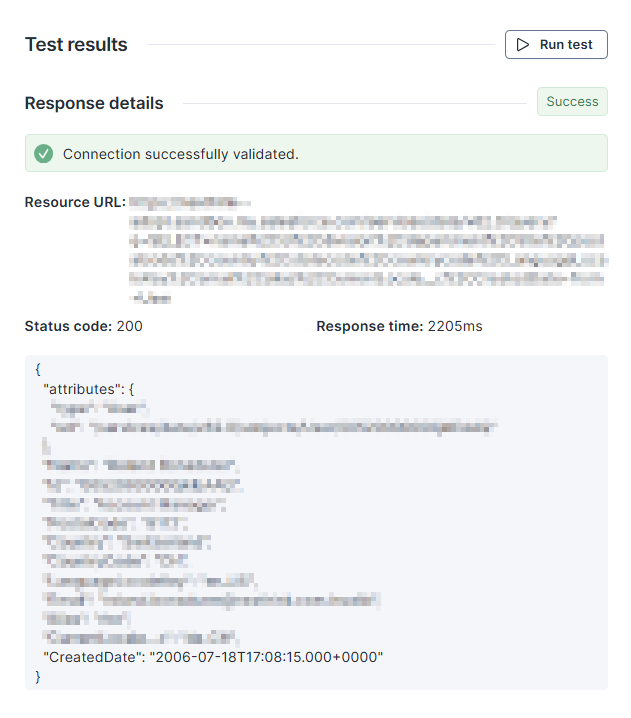
Use the **Test results** panel on the right side to run the connector with real data on demand, and inspect responses and errors. The test panel helps with faster debugging and validation during setup, and also with more reliable mappings with less trial and error.
Select the **Run test** button to call the API, and validate the credentials and check connectivity to the targeted endpoint.
Besides basic information, such as the response status code and time, the panel also shows a sample record of the response at the bottom.
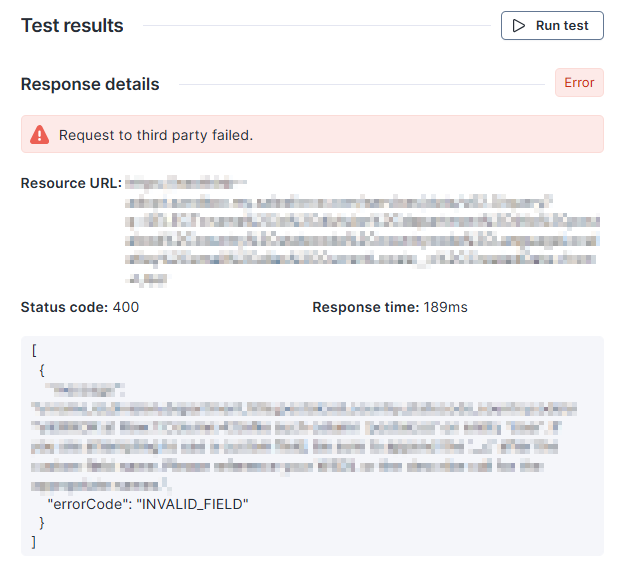
In the event of an error, the system displays the API response to aid in diagnosing the issue.
---
# Agent Instructions
This documentation is published with GitBook. GitBook is the documentation platform designed so that both humans and AI agents can read, navigate, and reason over technical content effectively. Learn more at gitbook.com.
## Querying This Documentation
If you need additional information that is not directly available in this page, you can query the documentation by asking a question.
Perform an HTTP GET request on the following URL with the `ask` and `goal` query parameters:
```
GET https://docs.nexthink.com/platform/configuring_nexthink/bringing-data-into-your-nexthink-instance/integrating-nexthink-with-third-party-tools/inbound-connectors/jamf-ios-mobile-devices-connector.md?ask=&goal=
```
`ask` is the immediate question: it should be specific, self-contained, and written in natural language.
`goal` is what the user is ultimately trying to achieve, the reason they need the answer. Sharing it helps GitBook give you a better, more relevant answer. A goal is most helpful when it describes the outcome the user wants rather than restating the question. For example, with `ask=how do I create an API token`, a goal like `automate deployments from our CI pipeline` lets GitBook tailor the answer to that use case.
The response will contain a direct answer to the question and relevant excerpts and sources from the documentation.
Use this mechanism when the answer is not explicitly present in the current page, you need clarification or additional context, or you want to retrieve related documentation sections.