For the complete documentation index, see llms.txt. This page is also available as Markdown.

Deploying Nexthink Mobile for iOS and iPadOS devices in Jamf

This guide explains how to deploy the Nexthink Mobile application for iOS and iPadOS devices in Jamf. It is intended for IT administrators responsible for device management and Nexthink onboarding, and it assumes familiarity with iOS and iPadOS device management concepts and with administering Jamf.

Before you begin

Before starting the deployment, ensure you meet the following requirements:

  • Target devices are supervised and enrolled in a UEM solution, such as Microsoft Intune or Jamf. This documentation uses Intune as an example.

  • Target devices have access to Apple App Store.

  • Download and configure the Nexthink Mobile Device Configuration.xml file as described in Nexthink Mobile app configuration profile (iOS) documentation.

  • Create an installation token as described in the Creating an installation token documentation.


Defining the Nexthink Mobile app

1

In Jamf Pro Dashboard, select Devices > Mobile device apps > New:

2

Choose an app type of App Store app or apps purchased in volume, and select Next:

3

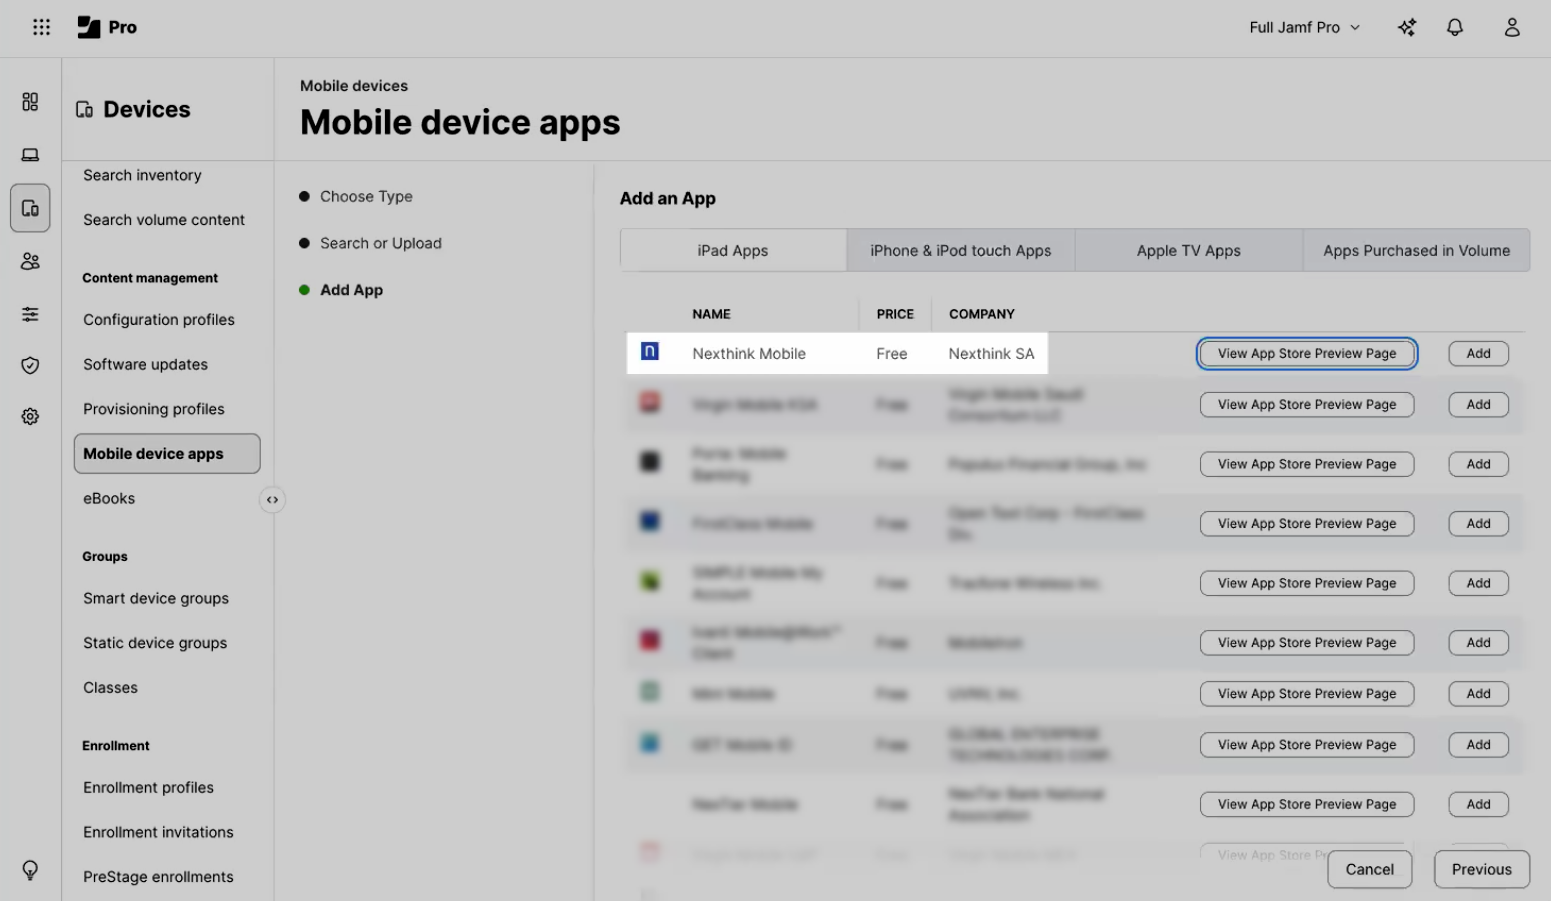
Type "Nexthink Mobile" in the search bar, and Add Nexthink Mobile from the results:

4

On the General tab, change the following configuration values:

Setting
Value

Distribution Method

Install Automatically/Prompt Users to Install

Display app in Self Service after it is installed

Enabled

Schedule Jamf Pro to automatically check the App Store for app updates

Enabled

Automatically force app updates

Enabled

5

On the Scope tab, define the Target Mobile Devices or Target Users, and also the Selected Deployment Targets:

6

Save the app configuration.


Defining a content filter

1

Change the extension of the Nexthink Mobile device configuration profile for iOS and iPadOS from .xml to .mobileconfig.

2

In Configuration profiles, Upload the configuration file:

3

On the Options tab go to Content filter tab, then Custom Data section, and change the following configuration values:

Key
Value

InstallationToken

Your installation token created in Nexthink

DeviceID

$UDID

UserPrimaryUPN

$EMAIL

4

On the Scope tab, define the Target Mobile Devices or Target Users, and also the Selected Deployment Targets:

5

Save the content filter.


Defining the group of non-compliant devices

Create smart groups for the Jamf: iOS Mobile devices connector to enable the connector to report non-compliant devices in your organization.

1

Select Smart device groups and add a New group.

2

On the Mobile Device Group tab, add a Display name, such as "NonCompliantDevices":

3

On the Criteria tab, Add a criterion to define which devices show up as non-compliant for the Jamf connector:


Verifying onboarding and data collection

1

Verify configuration on the device

Confirm the configuration file is running correctly according to the Nexthink Mobile device configuration profile for iOS and iPadOS documentation.

2

Verify device visibility in Nexthink

In Nexthink, confirm that the device is reporting data by running the following investigation; change the <app-uid> to the actual app ID:

If the device appears in the query results, onboarding is successful.


Configuring Nexthink Mobile on client devices (optional)

If needed, see the Configuring Nexthink Mobile on user devices documentation to learn how to configure Nexthink Mobile on client devices.

Last updated

Was this helpful?